Keeping your PC clean is essential for maintaining optimal performance and extending its lifespan. Dust buildup can lead to overheating, hardware failure, and decreased performance. This comprehensive guide will walk you through the steps to effectively clean your computer, both inside and out, ensuring it runs smoothly and efficiently.
Why Cleaning Your PC is Important
- Improved Cooling: Dust accumulation can obstruct airflow, causing components to overheat. Regular cleaning helps maintain proper cooling.
- Enhanced Performance: A clean PC runs more efficiently, as dust can hinder performance by causing hardware to work harder than necessary.
- Prolonged Lifespan: Regular maintenance can prevent hardware failures and extend the life of your components.
- Aesthetics: A clean computer looks better on your desk and creates a more pleasant working environment.
What You’ll Need
- Tools:
- Phillips screwdriver (if needed for your case)
- Microfiber cloths
- Compressed air canister
- Soft brush (like a paintbrush)
- Isopropyl alcohol (for cleaning surfaces)
- Cotton swabs
- Anti-static wrist strap (optional)
- Preparation:
- Ensure your computer is turned off and unplugged.
- Ground yourself to avoid static discharge, which can damage sensitive components.
Step-by-Step Cleaning Process
Step 1: Cleaning the Exterior
- Turn Off and Unplug: Shut down your PC and disconnect it from the power source.
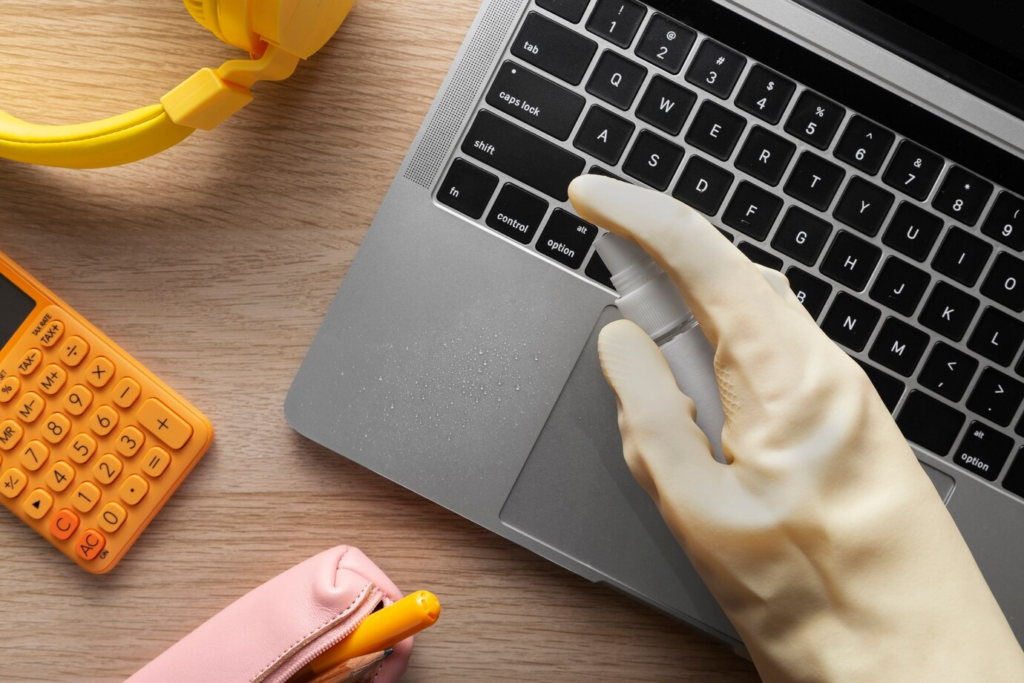
- Wipe Down Surfaces: Use a microfiber cloth slightly dampened with water or isopropyl alcohol to wipe the exterior surfaces, including the case, monitor, and peripherals.
- Clean the Keyboard:
- Turn the keyboard upside down and gently shake it to dislodge crumbs and debris.
- Use a compressed air canister to blow out dust from between the keys.
- Wipe the surface with a cloth dampened with isopropyl alcohol.
- Dust the Monitor:
- Use a screen cleaner or a slightly damp microfiber cloth to clean the monitor screen. Avoid using harsh chemicals.
Step 2: Opening the Case
- Remove the Side Panel:
- Depending on your case design, you may need to unscrew or slide off the side panel.
- Refer to your case manual if unsure about how to open it.
- Ground Yourself:
- Before touching any components, ground yourself by touching a metal part of the case or using an anti-static wrist strap.
Step 3: Cleaning Inside the PC
- Dust the Components:
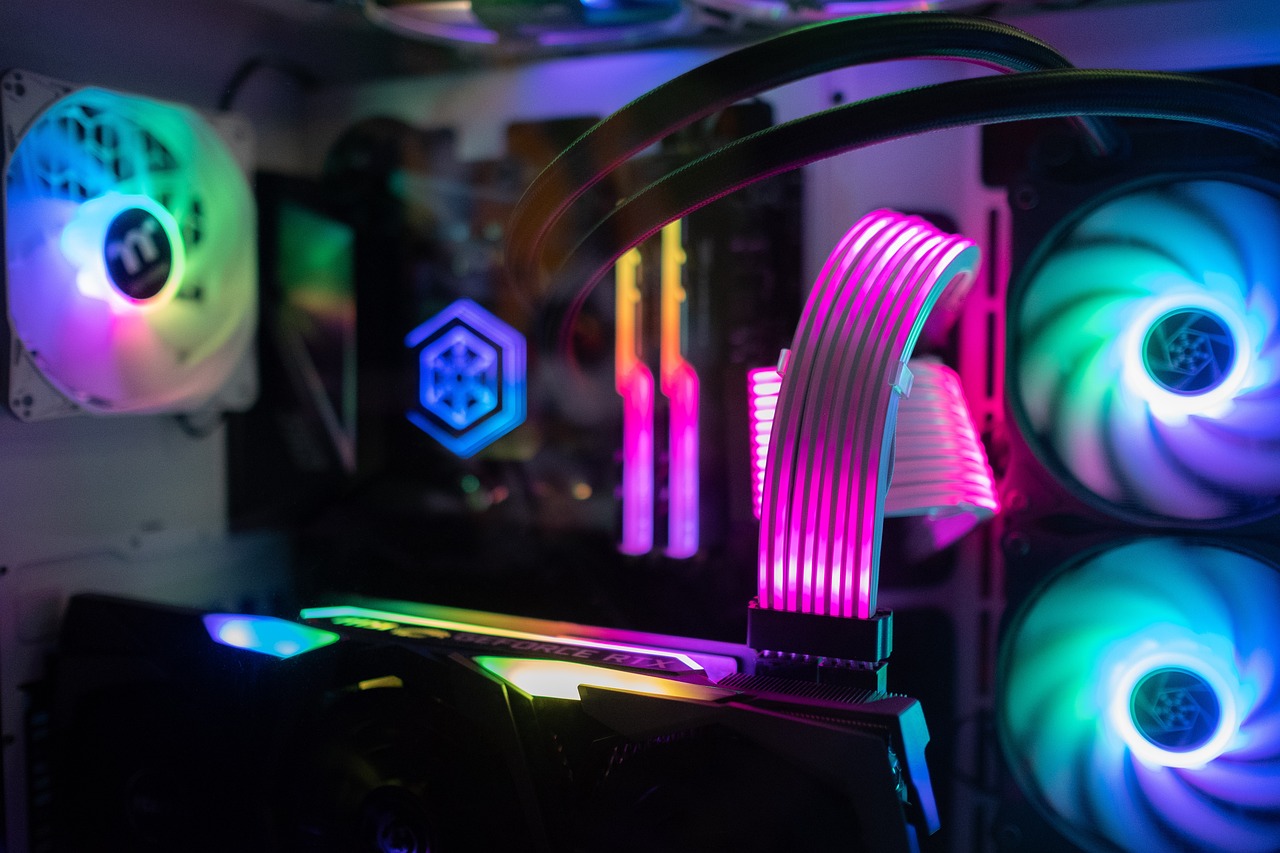
- CPU Cooler and Fans: Use compressed air to blow dust off the CPU cooler and case fans. Hold the fan blades in place to prevent them from spinning while cleaning.
- Power Supply Unit (PSU): Blow air into the PSU vents to remove dust buildup without opening it.
- Motherboard and Components: Use a soft brush or compressed air to carefully dust off the motherboard and other components. Pay special attention to heatsinks and expansion cards.
- Remove Dust Bunnies:
- Use a vacuum cleaner with a brush attachment (not directly on the components) to collect dust bunnies that accumulate in corners.
- Clean the Graphics Card:
- If necessary, gently remove the graphics card by unscrewing it from the case and releasing it from the PCIe slot.
- Clean it with compressed air, particularly the heatsink and fans.
Step 4: Reassemble and Final Touches
- Check Connections:
- Before closing the case, double-check that all cables and components are securely connected.
- Close the Case:
- Replace the side panel and secure it with screws if needed.
- Reconnect and Power On:
- Plug your PC back in and power it on. Ensure everything is functioning properly.
Step 5: Regular Maintenance Tips
- Frequency: Clean your PC every 3-6 months, depending on your environment (more often if you have pets or live in a dusty area).
- Monitor Temperatures: Use software to keep an eye on component temperatures. High temperatures can indicate dust buildup.
- Keep Cables Organized: A tidy setup not only looks better but also allows for better airflow.
Conclusion
Regularly cleaning your PC is essential for optimal performance and longevity. By following this step-by-step guide, you can ensure your computer remains dust-free and functions efficiently. Not only will your machine perform better, but you’ll also enjoy a cleaner, more organized workspace. Happy cleaning!